音の癒しと大切な人に贈るレシピを
チャンネル登録で応援お願いします→https://goo.gl/gcUk3d
登録の際に🔔をクリックし“すべて”を選択といち早く新しい動画をチェックできますよ♪
~使用したチョコレート~
クーベルチュールフレーク(スイート)
https://amzn.to/2ZfFow6
※カカオ50%台のクーベルチュールで初心者の方にも扱いやすくチャンネル内でもこちらのチョコを使わせていただいてます。参考の為にリンクを設置させていただきます。
■生チョコ
カカオ56% クーベルチュール…300g
牛乳…170ml
※板チョコで作る場合はミルクチョコではなくブラック、ダークチョコで低脂肪牛乳など調整牛乳ではなく無調整牛乳を120ml~140mlに調整しお使いください。冷やす時間に関しては目安として2時間くらい記載しましたがパックから外す前にまだ、柔らかいと感じた時は冷蔵庫で冷やし固めていただくようお願い致します。
①チョコレートをレンジまたは湯煎で溶かす。
●レンジを使って溶かす方法
レンジで溶かす場合は500wに設定したレンジで20秒~30秒を数回行い少しずつゆっくり溶かす。
※一気に溶かそうとすると底の方から焦げる原因となるので注意してください。
●湯煎を使って溶かす方法
湯煎を使用する場合は60℃くらいにお湯に当てボウルから立ち上がる蒸気が入らないようにゆっくり溶かしてください。
※沸騰したお湯に当てるとチョコが荒れ舌触りも悪くなるので注意です。
②溶かしたチョコレートに60℃くらいに温めた牛乳を加えボウルの中心からホイッパーで一気に混ぜ合わせ乳化させる。
③乳化させたチョコを型に流し込み冷蔵庫で冷やし固める。
※冷やす時間は2時間くらい見ていただければと思います。表面に多少の気泡が浮いてくるので気泡は竹串などで潰してあげると表面もキレイに見えますよ!
④冷やしたチョコを型から取り出し温めた包丁で切り分ける。
切る際はお湯やバナーなど包丁を温めて切ってあげるとキレイに切れます。お湯を使用する際は水分をしっかりふき取ってから切ってあげてください
~ワンポイントアドバイス~
牛乳を温める際にハチミツや水あめ、バターを加えて一緒に温めてあげると更にリッチな味わいになりますよ!
追加したい方は↓
はちみつ…20g
無塩バター…20g
■テンパリング
※テンパリングが苦手な方はテンパリング不要のコーティングチョコを使うのがおすすめです。
使用するチョコレートはカカ56%クーベルチュールを使用しておりますが、市販のチョコでも問題ありません。
他にもミルクチョコ、ホワイトチョコなどお好みでテンパリングしてください。
①チョコレートを300g用意し200gのチョコレートを500wのレンジで20秒~30秒ずつ数回行い
ゆっくり溶かし55℃まで温める。
※チョコに含まれるカカオバターの融点が50℃となるのでテンパリングを行う際は55℃まで行う必要があります。
②残った100gのチョコは細かく刻み32~31℃まで温度を下げる。
コーティング中にチョコの温度が下がらないよう給湯温度を32℃に設定し湯煎代わりに当てると安心です。
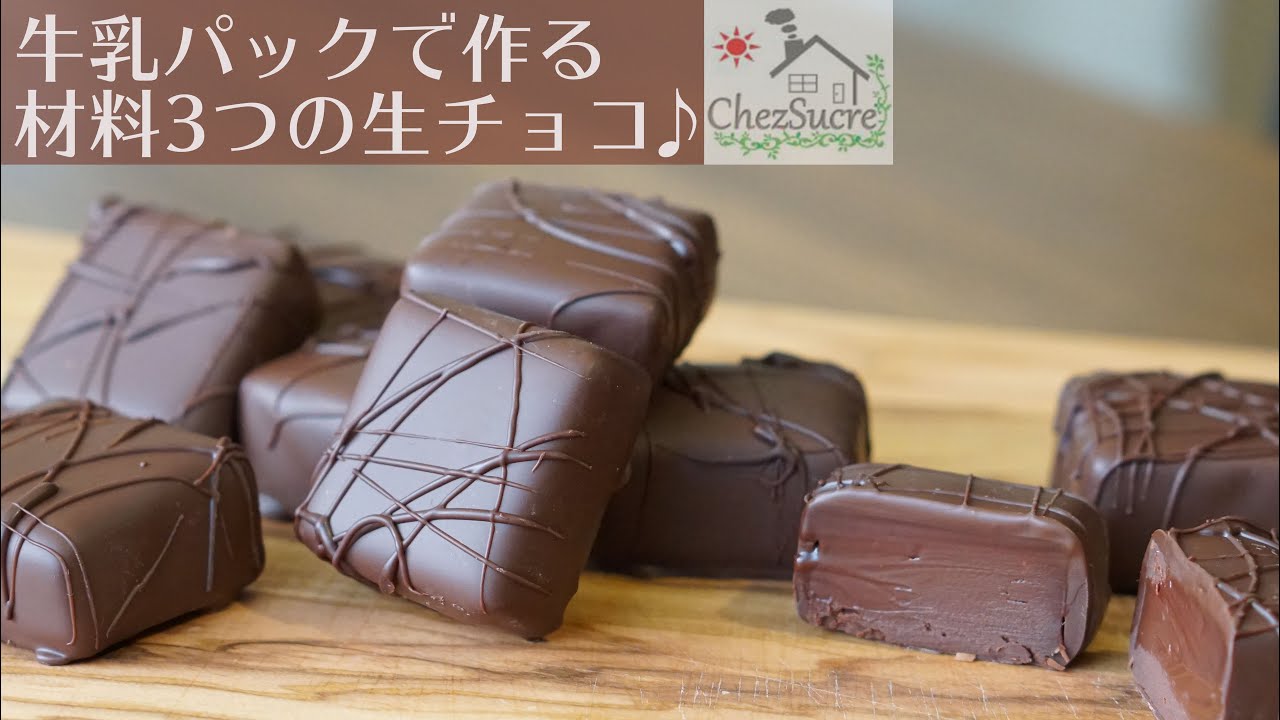
③生チョコをテンパリングしたチョコにくぐらせ余分なチョコを落とし天板に並べる。
余ったチョコはチョコペンにして模様を描くと更にいい感じに仕上がりますよ♪
【Instagram】
https://www.instagram.com/chez.sucre/?hl=ja
【Twitter】
Tweets by ChezSucre
Click on when registering and select “all” as soon as possible
I will tell you new videos
Thank you for watching the video.
■ Raw chocolate
300g…chocolate
170ml…milk
① Melt the chocolate in a microwave or in a water bath.
● How to melt using a microwave oven
When melting in the microwave, do it several times for 20 to 30 seconds in the microwave set to 500w and slowly melt it little by little.
* Please note that if you try to melt it all at once, it may burn from the bottom.
● How to melt in a water bath
When using a water bath, put it in hot water at about 60 ° C and dissolve it slowly so that the steam rising from the bowl does not enter.
* Please note that the chocolate will become rough and the texture will be worse if it is exposed to boiling water.
② Add milk warmed to about 60 ° C to the melted chocolate and mix at once with a whipper from the center of the bowl to emulsify.
③ Pour the emulsified chocolate into a mold and cool it in the refrigerator to harden it.
* I hope you can see the cooling time for about 2 hours. Some bubbles will float on the surface, so if you crush the bubbles with a bamboo skewer, the surface will look beautiful!
④ Take out the chilled chocolate from the mold and cut it with a warm kitchen knife.
When cutting, warm the kitchen knife such as hot water or banner and cut it cleanly. When using hot water, wipe off the water thoroughly before cutting.
~ One point advice ~
When you warm the milk, add honey, starch syrup, and butter and warm it together for a richer taste!
20g…honey
20g…butter
■ Tempering
The chocolate used is Kaka 56% Couverture, but there is no problem with commercially available chocolate.
In addition, please temper with milk chocolate, white chocolate, etc. as you like.
① Prepare 300g of chocolate and do 200g of chocolate several times in a 500w range for 20 to 30 seconds.
Melt slowly and warm to 55 ° C.
* Since the melting point of cacao butter contained in chocolate is 50 ° C, it is necessary to perform tempering up to 55 ° C.
② Finely chop the remaining 100g of chocolate and lower the temperature to 32 to 31 ℃.
It is safe to set the hot water supply temperature to 32 ° C and apply it instead of hot water so that the temperature of the chocolate does not drop during coating.
③ Pass the raw chocolate through the tempered chocolate, drop the excess chocolate and arrange it on the top plate.
If you use a chocolate pen to draw a pattern on the excess chocolate, it will look even better ♪
#chezsucre #asmrcooking #お菓子作り #料理 #バレンタイン
【おススメ音フェチスイーツCooking】


コメントを残す